When it comes to maintaining your home, one of the most significant investments you’ll make is in your roof. Over time, roofs wear out and need replacing, which can seem like a daunting task. But don’t worry! With the right information and preparation, the roof replacement process can be smooth and straightforward. In this guide, we’ll walk you through each step, from identifying the need for a new roof to enjoying the benefits of your newly installed roof.
Recognizing the Need for Roof Replacement
Signs Your Roof Needs Replacing
Your roof is your home’s first line of defense against the elements, so it’s crucial to know when it’s time for a replacement. Look for these telltale signs:
- Age of the Roof: Most roofs last between 20 to 25 years. If yours is approaching or has surpassed this age, it might be time to consider a replacement.
- Shingle Damage: Curling, cracking, or missing shingles indicate wear and tear.
- Leaks and Water Damage: Water stains on your ceiling or walls suggest your roof is no longer watertight.
- Moss and Algae Growth: While not always a structural issue, moss and algae can retain moisture, leading to roof damage over time.
Selecting the Right Roofers
Researching Local Roofers
Finding a reliable roofing contractor is essential for a successful roof replacement. Start by researching local roofers:
- Online Reviews: Check platforms like Google, Yelp, and the Better Business Bureau for customer reviews and ratings.
- Recommendations: Ask friends, family, and neighbors for referrals.
- Credentials: Ensure the roofer is licensed, insured, and certified by reputable roofing manufacturers.
Getting Multiple Quotes
Don’t settle for the first quote you receive. Obtain at least three quotes from different roofers to compare prices, services, and warranties. Remember, the cheapest option isn’t always the best.
Choosing the Right Roofing Material
Exploring Roofing Options
There are various roofing materials to choose from, each with its advantages and drawbacks. Common options include:
- Asphalt Shingles: Affordable, easy to install, and available in many colors. However, they have a shorter lifespan compared to other materials.
- Metal Roofing: Durable and long-lasting, but more expensive. Metal roofs can be noisy during rainstorms.
- Wood Shingles and Shakes: Attractive and natural-looking, but require more maintenance and are susceptible to fire.
- Slate and Tile: Extremely durable and beautiful, but heavy and expensive. Your home’s structure must be able to support the weight.
Considering Climate and Aesthetics
When selecting roofing materials, consider your local climate and the architectural style of your home. For instance, metal roofs are excellent for areas with heavy snowfall, while clay tiles are ideal for hot, sunny climates.
Preparing for the Roof Replacement
Planning and Permits
Before any work begins, plan the logistics and obtain necessary permits:
- Scheduling: Coordinate with your roofer to find a convenient time for the replacement. Keep in mind that weather conditions can affect scheduling.
- Permits: Your contractor should handle obtaining the required permits. Ensure this is included in your contract.
Protecting Your Property
Roof replacement can be messy, so take steps to protect your property:
- Covering Furniture and Valuables: Move or cover items in your attic to protect them from dust and debris.
- Outdoor Precautions: Move vehicles away from the house, and protect landscaping and outdoor furniture with tarps.
The Roof Replacement Process
Step 1: Removing the Old Roof
The first step is tearing off the old roof. This involves removing all old shingles, underlayment, and flashing. The roofers will inspect the decking for damage and replace any rotten or damaged sections.
Step 2: Installing the Underlayment
Once the old roof is removed, the underlayment is installed. This water-resistant barrier protects the decking from moisture and provides an additional layer of protection.
Step 3: Laying the New Roofing Material
With the underlayment in place, the new roofing material is installed. The process varies depending on the material:
- Shingles: Applied in overlapping rows from the bottom up.
- Metal Panels: Secured with screws and sealed to prevent leaks.
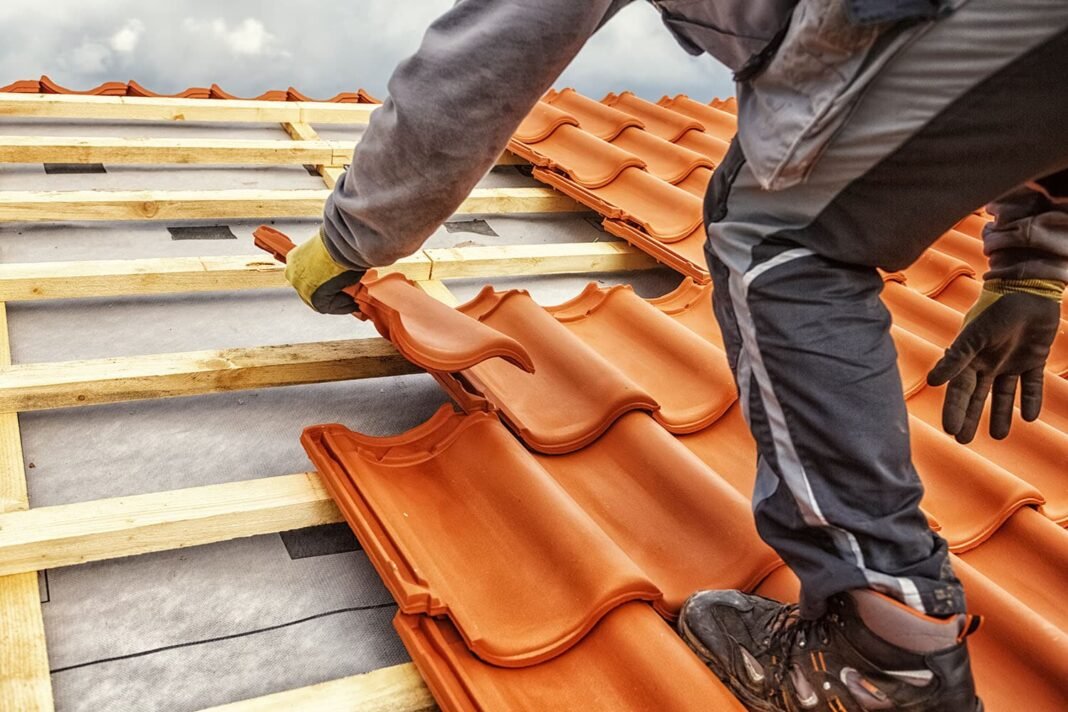
- Tiles or Slate: Individually placed and secured.
Step 4: Installing Flashing and Ventilation
Flashing is installed around chimneys, vents, and other protrusions to prevent water leaks. Proper ventilation is also crucial to prevent moisture buildup and extend the life of your roof.
Step 5: Final Inspection and Cleanup
Once the new roof is installed, the roofers will conduct a final inspection to ensure everything is properly installed and secure. They will also clean up the site, removing any debris and leftover materials.
Post-Installation Care
Routine Maintenance
Regular maintenance can extend the life of your new roof. This includes:
- Regular Inspections: Check your roof at least twice a year for any signs of damage or wear.
- Cleaning Gutters: Keep gutters clean to prevent water backup and roof damage.
- Removing Debris: Clear off leaves, branches, and other debris that can trap moisture and cause damage.
Handling Repairs Promptly
Address any repairs immediately to prevent minor issues from becoming major problems. If you notice any damage, contact your roofer to assess and fix the issue.
Conclusion
Replacing your roof is a significant investment, but it’s essential for protecting your home and maintaining its value. By recognizing the signs that your roof needs replacing, selecting the right roofers, choosing suitable materials, and understanding the replacement process, you can ensure a smooth and successful project. Remember, a well-maintained roof provides peace of mind and enhances the overall appeal and functionality of your home.


